前面讲解了如何使用libavdevice采集摄像头图像
同样 libavdevice 也可以采集麦克风的声音。
下面就讲解麦克风声音的采集:
采集声音和采集摄像头本质上没有多大的却别,基本上就是换个名字:
首先还是一样注册libavdevice:
avdevice_register_all();
然后打开音频设备:
    QString audioDeviceName = QStringLiteral("audio=麦克风 (Realtek High Definition Audio)");

    AVInputFormat *ifmt = av_find_input_format("dshow");
    if(avformat_open_input(&pFormatCtx,audioDeviceName.toUtf8().data(),ifmt,NULL)!=0){
        fprintf(stderr,"Couldn't open input stream.(无法打开输入流)
");
        return -1;
    }
其中"audio=麦克风 (Realtek High Definition Audio)"跟之前获取摄像头名字一样的方法,直接使用ffmpeg命令行获取即可,不懂得直接查看之前的教程。传送门
成功打开麦克风之后,就是查找流然后打开解码器:
    audioindex = -1;
    aCodecCtx = NULL;

    for(i=0; i<pFormatCtx->nb_streams; i++)
        if(pFormatCtx->streams[i]->codec->codec_type==AVMEDIA_TYPE_AUDIO)
        {
            audioindex=i;
            break;
        }

    if(audioindex==-1)
    {
        printf("Didn't find a video stream.(没有找到视频流)
");
        return -1;
    }

    aCodecCtx = pFormatCtx->streams[audioindex]->codec;

    aCodec = avcodec_find_decoder(aCodecCtx->codec_id);
    if(aCodec == NULL)
    {
        printf("audio Codec not found.
");
        return -1;
    }

    if(avcodec_open2(aCodecCtx, aCodec,NULL)<0)
    {
        printf("Could not open video codec.
");
        return -1;
    }
可以看出这个操作和打开摄像头的操作并没有多大的区别。
接着就是使用av_read_frame来读取麦克风了:
aFrame=avcodec_alloc_frame();

    int ret, got_frame;

    AVPacket *packet=(AVPacket *)av_malloc(sizeof(AVPacket));

    FILE *fp_pcm=fopen("output.pcm","wb");

    ///这里打印出音频的信息
    qDebug()<<"audio info:";
    qDebug()<<"audio info:"<<aCodecCtx->sample_fmt<<aCodecCtx->bit_rate<<aCodecCtx->sample_rate<<aCodecCtx->channels;

    float Time = 0;

    for(int i=0;;i++)
    {
        if (Time > 30) break; //就采集30秒

        if(av_read_frame(pFormatCtx, packet) < 0)
        {
            break;
        }

        if(packet->stream_index==audioindex)
        {
            ret = avcodec_decode_audio4(aCodecCtx, aFrame, &got_frame, packet);
            if(ret < 0)
            {
                fprintf(stderr,"Audio Error.
");
                return -1;
            }

            if (got_frame)
            {
                int pcmSize = av_samples_get_buffer_size(NULL,aCodecCtx->channels, aFrame->nb_samples,aCodecCtx->sample_fmt, 1);
                uint8_t * pcmBuffer = aFrame->data[0];

                float useTime = aFrame->nb_samples * 1.0 / aCodecCtx->sample_rate;
                Time += useTime;
                qDebug()<<i<<Time<<useTime;
                fwrite(pcmBuffer,1,pcmSize,fp_pcm); //写入文件

            }

        }
        av_free_packet(packet);
    }

fclose(fp_pcm);每一帧所发费的时间由aFrame->nb_samples * 1.0 / aCodecCtx->sample_rate;来获得。
上面总共采集了30秒,同时将采集得到的pcm音频数据写入了文件。
打开pcm数据可以使用cool edit这个软件。有需要的可以百度下载。
pcm是最原始的音频数据,是不带有任何采集率以及声道的信息的。
因此我们需要手动告诉cool edit软件需要打开的pcm数据的采样率和声道信息,否则打开之后会是全部杂音。
我们这里采集到的是44100 双声道的。

接着就可以看到漂亮的波形图了,
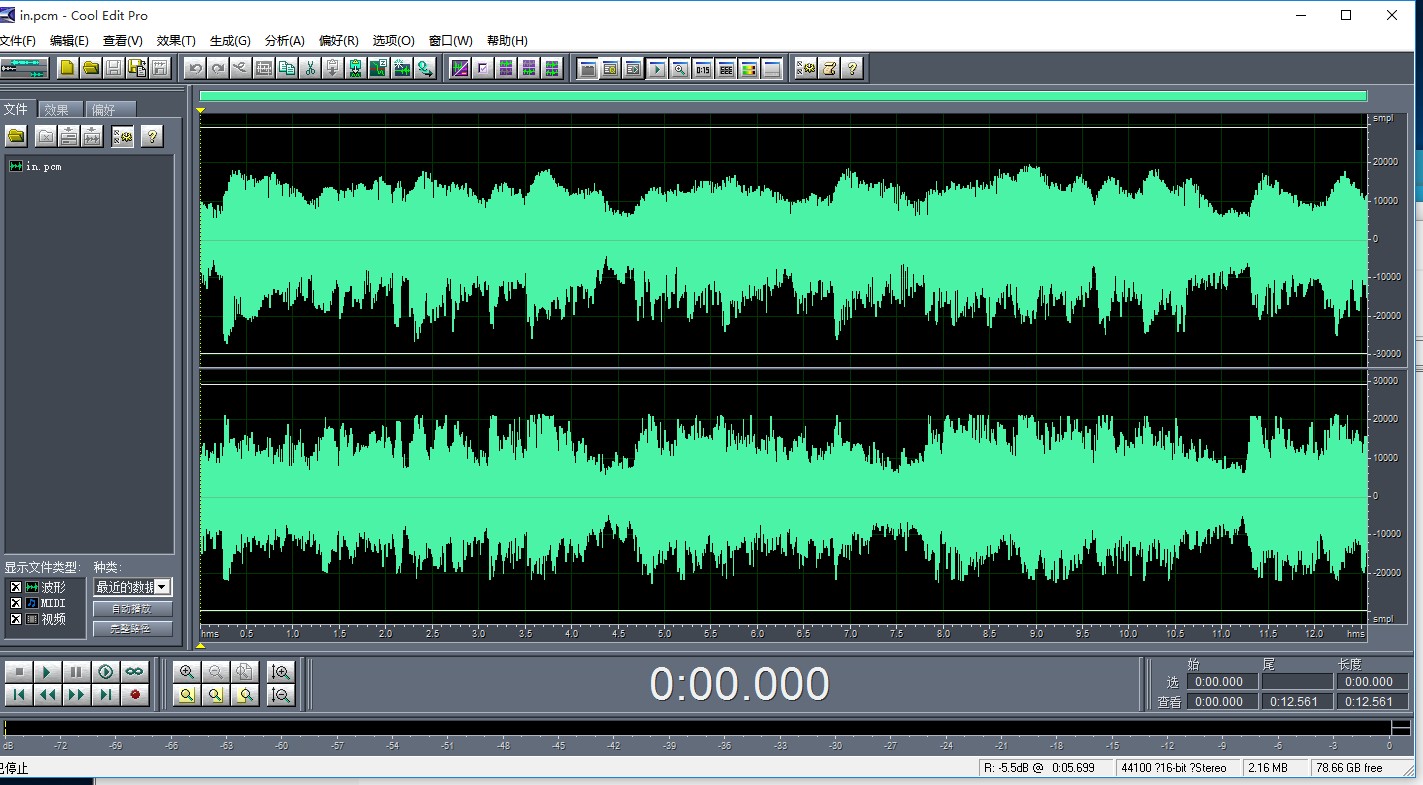
cool edit的使用这里就不说了,自行琢磨吧。
完整工程下载地址:http://download.csdn.net/detail/qq214517703/9696049
学习音视频技术欢迎访问 http://blog.yundiantech.com
音视频技术交流讨论欢迎加 QQ群 121376426